Our WiFi products utilize a cloud-based service and so a physical SIM card is not needed to access our standard 100GB, 200GB or 300GB WiFi plans.
To begin using the WiFi service in Japan however, you will be required to submit an activation request (if you haven’t done so already) by following the instructions found here: Activation Guide
For additional information related to your WiFi device, please refer to the relevant guide below –
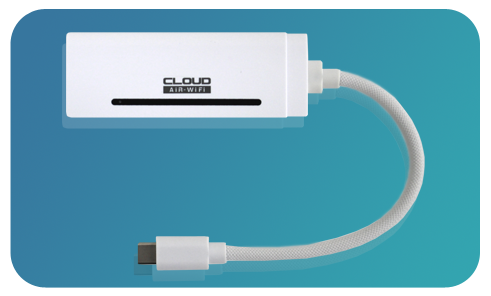
Mobal WiFi Stick (Air Stick)
Click here for more information
Charging Your Device:
Please note that this product must be connected to a power source at all times while it is being used for internet access.
You could connect it directly to a device such as a laptop (and it will receive power from this device) or you can connect the WiFi device to a separate power source such as a “Power Bank” for example.
This WiFi product utilizes a “USB Type-C” cable / port but a Conversion Adapter (USB Type-C to Type-A) will also be included.
Device Layout:
- USB Type-C Connector
- WiFi LED Indicator
- USB Type-C Port
- Reset Button

LED Indicator Guide:
| LED Light Status: | Meaning: |
|---|---|
| Solid | Network Connected |
| Blinking | Connecting (or) No Network Found |
| Off | Power Off |
Internet Access:
Once the device is connected to a power source (and the LED is showing a solid light), you can then access the internet directly from the connected device or connect other devices to the network via WiFi.
Simply scan for the WiFi network on another device and then enter the required password.
The “SSID” (i.e. the name of the WiFi network) and the password for accessing the network can be found on the back of the device.
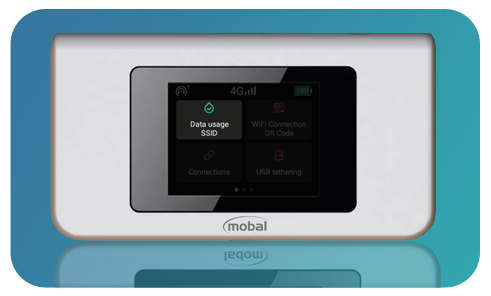
White Mobal WiFi Device (Air-1)
Click here for more information
Charging Your Device:
To charge your WiFi device, simply use the Type-C USB (USB-C) cable that you received in the packaging. The location of the charging port is explained in the “Device Layout” section below.
The other end of the cable can be connected to a USB port on another device (such as a PC / Laptop) or you can connect it to a USB plug adapter to charge it via the wall outlet.
As this is a portable WiFi unit, we would recommend that you avoid leaving the device on charge at all times (to avoid deterioration of the internal battery). We would suggest that you just charge the device until the battery is fully charged and that you only charge the device again when needed.
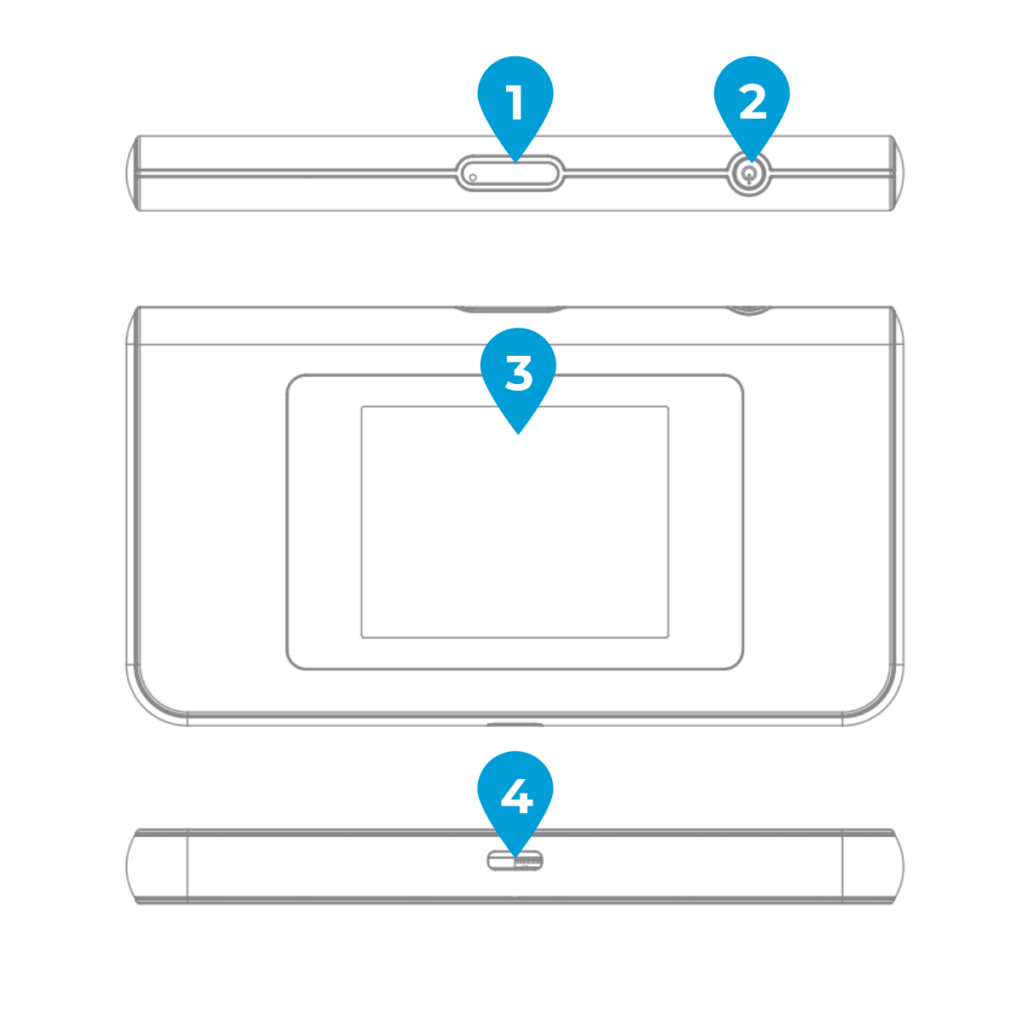
Device Layout:
-
- SIM Card Tray
-
- Power Button (hold for approx 5 seconds to turn on/off)
-
- Touch Display
-
- USB-C Charging Port
On-Screen Icons:
-
- Number of Connected Devices
-
- Signal Strength
-
- Battery Level
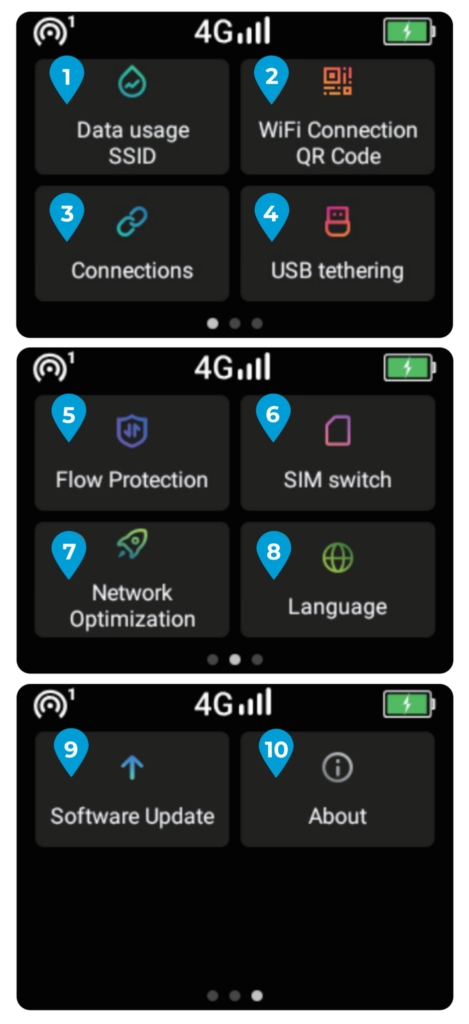
On-Screen Menu:
-
- Data Usage / SSID: Check your data usage, SSID and password
-
- WiFi Connection QR code: Connect easily by scanning the QR code from your smartphone
-
- Connections: Block and unblock devices that are connected to your Mobal WiFi device
-
- USB Tethering: Connect to Mobal WiFi via USB
-
- Flow Protection: Manage your data use by preventing high usage activities
-
- SIM Switch: Switch from cloud-based service to an inserted SIM card
-
- Network Optimization: Troubleshoot an unstable connection if you’re experiencing problems
-
- Language: Choose your language
-
- Software Update: Update your device to the latest software
-
- About: Check your device’s information and restore factory settings
Black Mobal WiFi Device (U3)
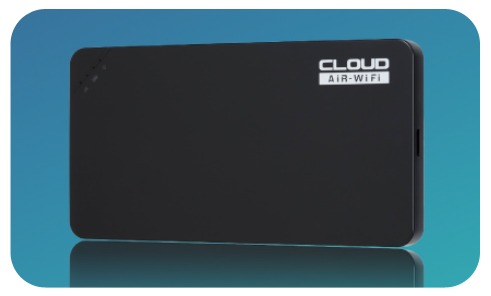
Click here for more information
Charging Your Device:
To charge your WiFi device, simply use the Type-C USB (USB-C) cable that you received in the packaging. The location of the charging port is explained in the “Device Layout” section below.
The other end of the cable can be connected to a USB port on another device (such as a PC / Laptop) or you can connect it to a USB plug adapter to charge it via the wall outlet.
As this is a portable WiFi unit, we would recommend that you avoid leaving the device on charge at all times (to avoid deterioration of the internal battery). We would suggest that you just charge the device until the battery is fully charged and that you only charge the device again when needed.
Device Layout:
-
- Power Button
-
- Reset Button
-
- Charging Port
-
- Strength Indicator LED
-
- Signal, Battery & WiFi LED’s
-
- SIM Slot
Power & Reset Buttons:
Switch On: Hold ‘Power’ button for 3 seconds
Switch Off: Hold ‘Power’ button for 5 seconds
Basic Reset: Hold ‘Power’ button for 14 seconds
Factory Reset: Hold ‘Reset’ button for 5 seconds
LED Icons Explained:
Located at the top left corner of your Wi-Fi device, you will see that there are several LED indicator lights.
These include the ‘Strength Indicator’ LED (number “4” in the “Device Layout” section) and then three separate icons below it (which include the ‘Signal Indicator’, the ‘Battery Indicator’ and the ‘Wi-Fi Indicator’).
If you need to check the current battery level / signal strength, you can do so by pressing the ‘Power’ button once.
In the first few seconds after pressing the ‘Power’ button, the ‘Strength Indicator LED’ section (the four lights in a line) will light up to display the current battery level.
After the battery level has been shown for three seconds, the ‘Strength Indicator LED’ section will then display the current signal strength.
For an explanation of the 3 LED icons, please refer to the diagram below:
